Ice Dams & Water Dams: The Hidden Threat to Minnesota Roofs
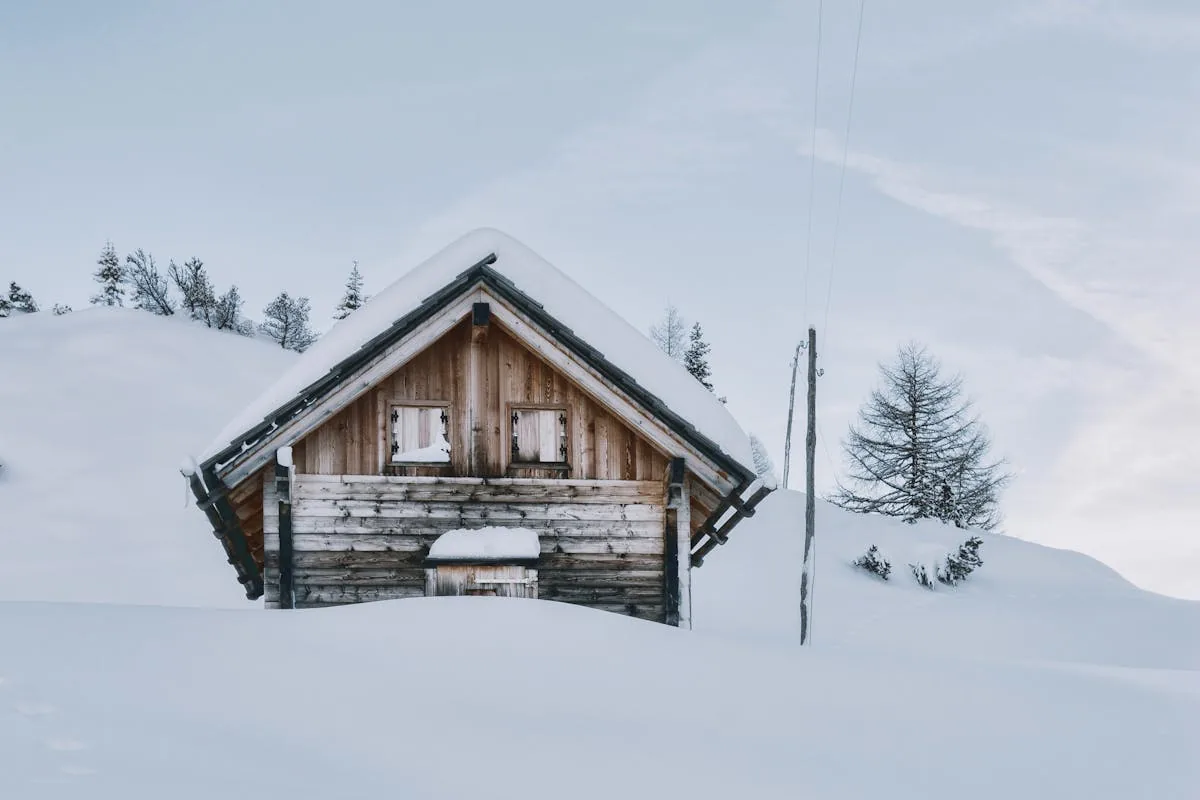
If you've lived in Minnesota for more than a couple of winters, you've probably seen those thick ridges of ice that form along the edges of roofs. They might look like a normal part of winter, but ice dams are one of the most destructive, and most preventable. Threats to your home. Most homeowners don't realize the damage until water is dripping through their ceiling.
What Is an Ice Dam?
An ice dam is a ridge of ice that forms at the edge of your roof and prevents melting snow from draining off. Here's how it happens, step by step:
- Heat escapes from your living space into the attic. This can happen through poor insulation, air leaks around light fixtures, plumbing stacks, attic hatches, or recessed lights.
- The warm attic heats the roof deck from below. The upper portions of your roof. Where the attic is directly underneath. Become warmer than the eaves and overhangs.
- Snow melts on the warm sections. Water runs down the roof toward the eaves, which are colder because they extend beyond the heated walls of your home.
- The water refreezes at the cold eave. This creates a growing ridge of ice along the roof edge.
- Water pools behind the ice dam. As more snow melts above, the water has nowhere to go. It backs up under shingles, past the underlayment, and into your home.
This cycle repeats throughout the winter whenever conditions are right. Typically when outdoor temperatures are in the teens or twenties and there's a decent layer of snow on the roof. In Minnesota, that's a significant chunk of the year.
What Damage Can Ice Dams Cause?
The ice itself isn't usually the main problem. It's the water that pools behind it. Once water gets under your shingles and past the roof deck, it can cause a cascade of expensive damage throughout your home.
Water Infiltration into Walls and Ceilings
This is the most common and most visible consequence. Water seeps through the roof, runs along rafters and framing, and eventually shows up as stains, bubbling paint, or active dripping on your ceilings and interior walls. By the time you see it inside, the water has often been traveling through the structure for days or weeks.
Mold and Mildew Growth
Moisture trapped inside walls, attics, and ceiling cavities creates the perfect environment for mold. In a sealed-up Minnesota home during winter, mold can take hold quickly and spread without being noticed until the smell becomes impossible to ignore, or someone in the household starts experiencing respiratory issues.
Damaged Insulation
Wet insulation loses its effectiveness almost entirely. Fiberglass batts that get saturated compress and clump, and even after drying they rarely recover their original R-value. Cellulose insulation can retain moisture and become a breeding ground for mold. Either way, you're losing energy efficiency and may need to replace the insulation entirely.
Rotted Roof Decking and Fascia
Repeated freeze-thaw cycles and prolonged moisture exposure will rot the plywood or OSB sheathing that forms your roof deck. Fascia boards. The trim along the roof edge. Are also highly vulnerable. Replacing rotted decking adds significant cost to any future roofing project and compromises the structural integrity of your roof in the meantime.
Interior Paint and Drywall Damage
Water stains on ceilings and walls are often the first sign homeowners notice. But by that point, the drywall may be weakened, and the paint will likely need to be fully stripped, the drywall patched or replaced, and everything repainted. In severe cases, entire ceiling sections can sag or collapse.
Gutter Damage and Ice Weight
Ice dams frequently destroy gutters. The sheer weight of the ice. Which can reach hundreds of pounds along a single section of roof edge. Pulls gutters away from the fascia, bends brackets, and cracks seams. Heavy icicles hanging from gutters are a clear sign that ice damming is occurring, and the gutters are bearing the brunt of it.
Warning Signs of Ice Dam Damage
You don't always need to see an active ice dam to know there's a problem. Watch for these warning signs throughout the winter months:
- Large icicles hanging from your gutters or eaves. While icicles can look picturesque, they're a clear indicator that water is melting from above and refreezing at the edge. The exact mechanism that creates ice dams.
- Water stains on ceilings or walls during winter. If you see discoloration or dampness on interior surfaces when temperatures are below freezing, ice dam infiltration is a likely culprit.
- A damp or musty smell in the attic. Moisture from ice dam leaks can accumulate in the attic long before it reaches the living spaces below. If your attic smells off during winter, investigate.
- Thick ice buildup along the eaves. A ridge of ice at the roof edge. Especially one that's several inches thick. Is an active ice dam. If you can see it from the ground, it's worth taking seriously.
- Uneven snow melt patterns on your roof. If certain sections of your roof are clear of snow while others are still covered, it suggests uneven heat distribution in your attic. The root cause of most ice dams.
How to Prevent Ice Dams
The good news is that ice dams are largely preventable. The key is addressing the root cause. Heat loss from your living space into the attic. Here's how, in order of effectiveness:
Proper Attic Insulation
This is the single most effective step you can take. The goal is to keep heat in your living space and out of your attic. In Minnesota, the recommended attic insulation level is R-49 to R-60, which translates to roughly 16 to 20 inches of blown-in fiberglass or cellulose.
Many older Minnesota homes have far less than this. If your attic floor has less than 10 to 12 inches of insulation, upgrading should be a priority. Not just for ice dam prevention, but for energy savings year-round.
Adequate Ventilation
Even with great insulation, some heat will always reach the attic. Proper ventilation ensures that warm air is continuously flushed out before it can heat the roof deck. The standard approach is a balanced system with soffit vents (intake at the eaves) and ridge vents (exhaust at the peak).
Make sure soffit vents are not blocked by insulation. This is an extremely common problem, especially after insulation has been added. Baffles (sometimes called rafter vents or vent chutes) should be installed in each rafter bay to maintain a clear air channel from the soffit to the attic space above.
Seal Air Leaks from the Living Space
Air leaks are often a bigger contributor to attic heat gain than poor insulation. Warm air from your home rises and escapes through gaps around:
- Recessed light fixtures (can lights)
- Plumbing vent stacks
- Electrical wires and conduit
- Attic hatches and pull-down stairs
- Bathroom exhaust fans
- Chimney chases
- Top plates of interior walls
Sealing these gaps with caulk, spray foam, or weatherstripping is relatively inexpensive and can make a dramatic difference. It's best done from the attic side, working systematically around the attic floor.
Ice and Water Shield Membrane
When it's time for a roof replacement, insist on ice and water shield membrane along the eaves. This is a self-adhering, rubberized membrane that goes directly on the roof deck before shingles are installed. Minnesota building code requires it to extend at least 24 inches past the interior wall line.
Ice and water shield doesn't prevent ice dams from forming, but it provides a critical second line of defense. Preventing water that backs up behind an ice dam from penetrating the roof deck and entering your home. At Northern Forge, we install ice and water shield on every roof we do.
Heated Cables (A Last Resort)
Heated cables. Zigzag-pattern electric cables installed along the eave. Can melt channels through ice dams and allow water to drain. However, they're generally considered a band-aid, not a solution. They increase energy costs, don't address the root cause, and can create their own problems if not properly maintained.
If you're considering heated cables, it's worth investing in insulation and air sealing first. In most cases, addressing the actual problem eliminates the need for cables entirely.
What to Do If You Already Have an Ice Dam
If you're reading this in the middle of winter and there's already a wall of ice along your roof edge, here's what you need to know:
Do not hack at the ice with an axe, hammer, or ice pick. This is the most common mistake homeowners make, and it almost always results in damaged shingles, cracked flashing, or punctured roof membranes. You'll turn an ice dam problem into a guaranteed leak.
Do not use rock salt or sodium chloride on your roof. These chemicals can corrode metal flashing, stain shingles, and damage vegetation below when they wash off.
Try calcium chloride socks. Fill a tube of pantyhose or a long sock with calcium chloride (not rock salt) and lay it perpendicular to the ice dam, extending over the gutter edge. The calcium chloride will slowly melt a channel through the ice, allowing trapped water to drain. This is a temporary measure but can relieve immediate pressure while you plan a permanent fix.
Call a professional for steam removal. If the situation is serious. Active leaking, large ice dams, or risk to your home's interior. A professional ice dam removal service can use low-pressure steam to safely melt the ice without damaging your roof. This is far safer than mechanical removal and doesn't harm the roofing materials.
Plan for next year. Once winter is over, address the root causes: insulation, ventilation, and air sealing. The ice dam you're dealing with today is a symptom of a problem that will come back every winter until it's fixed.
Related: Regular maintenance is the best way to protect your roof year-round. Check out our guide on roof maintenance tips that extend your roof's life for simple steps you can take today.
Dealing with Ice Dam Damage?
Whether you need emergency help now or want to prevent ice dams next winter, we're here. Free inspections and honest advice from a licensed Minnesota contractor.